Step 1 - Create a state manager to control the application state
In this step of the tutorial you create a state manager to control toggle buttons that switch on and off the air conditioning indicators which display the body, legs, and shield. You create state groups and states that set when the indicators are visible. You also create a property type which you use to control the air conditioning level indicators.
Assets for the tutorial
The <KanziWorkspace>/Tutorials/State managers/Completed directory contains the completed Kanzi Studio project of this tutorial.
The starting point of this tutorial is the State managers.kzproj Kanzi Studio project stored in the <KanziWorkspace>/Tutorials/State managers/Assets directory. The project contains the nodes you need to complete this tutorial:
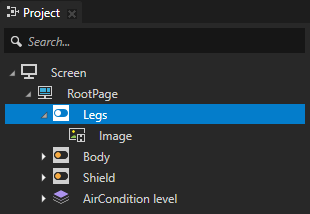
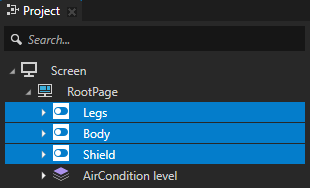
- A Toggle Button 2D node named Legs contains the image for the indicator which displays the air conditioning on the legs.
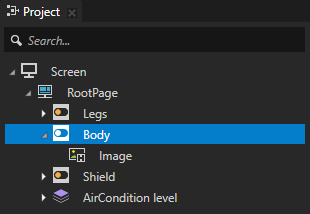
- A Toggle Button 2D node named Body contains the image for the indicator which displays the air conditioning on the body.
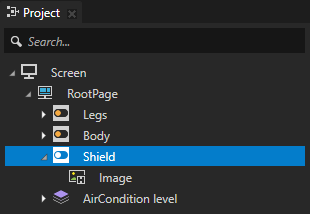
- A Toggle Button 2D node named Shield contains the image for the indicator which displays the air conditioning on the windshield.
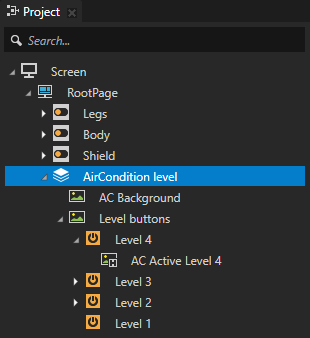
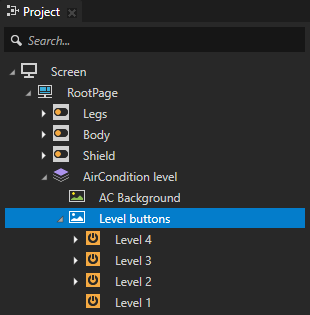
- A Stack Layout 2D node named AirCondition level contains the background image of the application user interface and an image node which contains:
- A Button 2D node for each air conditioning level indicator named Level 1, Level 2, Level 3, and Level 4.
Each Button 2D node contains the image for the level indicator which the button displays.
Create a state manager for the air conditioning states
You can use state managers to create different states in your application. For example, you can define the appearance and behavior of a button during different states, such as how the button reacts when a user presses the button.
In this section you create a state manager and a state group to control the state of the air conditioning indicators in the application. You use the state manager to set when the image in each toggle button is visible.

To create a state manager:
- In Kanzi Studio open the State managers.kzproj project stored in the <KanziWorkspace>/Tutorials/State managers/Assets directory.
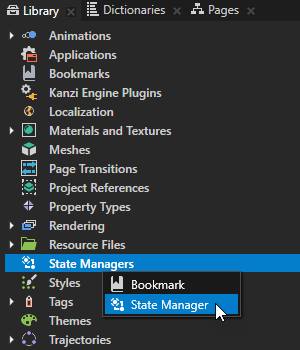
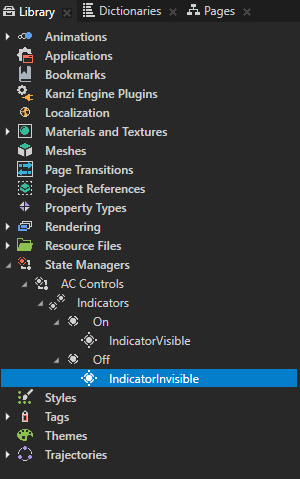
- In the Library press Alt and right-click State Managers, select State Manager to create a state manager, and name it AC Controls.
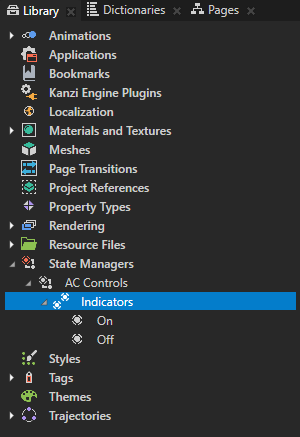
- In the Library > State Managers > AC Controls select the State Group, press F2 and rename it to Indicators, and rename the two states to On and Off.
State groups contain states, define controller properties, and transitions between states in a state group. You use the Indicators state group to set when the body, legs, and shield indicator images are visible.
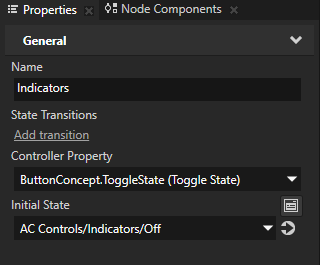
- In the Library > State Managers > AC Controls select the Indicators state group and in the Properties set:
- Controller Property to ButtonConcept.ToggleState (Toggle State)
The state manager uses the Controller Property to set which state in that state group is active. Here you use the Toggle State property to transition to a state based on the value of that property.
The AC Controls state manager and Indicators state group are displayed red until you set the Toggle State for each state. - Initial State to AC Controls/Indicators/Off.
The initial state is the state that the application uses when it is first started. You set the air conditioning off until the user clicks one of the indicator buttons.
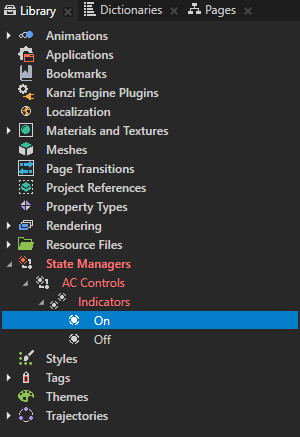
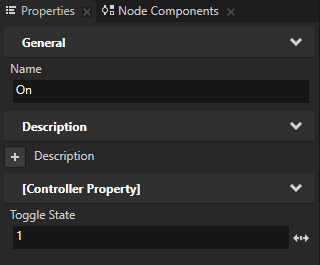
- In the Library > State Managers > AC Controls > Indicators select the On state and in the Properties set the Toggle State property to 1.
The Toggle State property is set to 0 by default in the Off state.
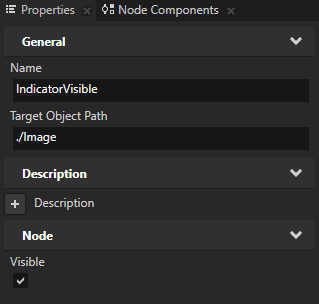
- In the On state press Alt and right-click, select State Object to create a State Object, name it IndicatorVisible, and in the Properties:
- Set the Target Object Path to ./Image
- Add and enable the Visible property.
State objects define the properties of nodes for a specific state. In the Project the Body, Legs, and Shield nodes each contain an image node called Image. The Target Object Path points to all of these images and sets them visible.

- Repeat the previous step for the Off state, but name the state object IndicatorInvisible, and make sure the Visible property is disabled.

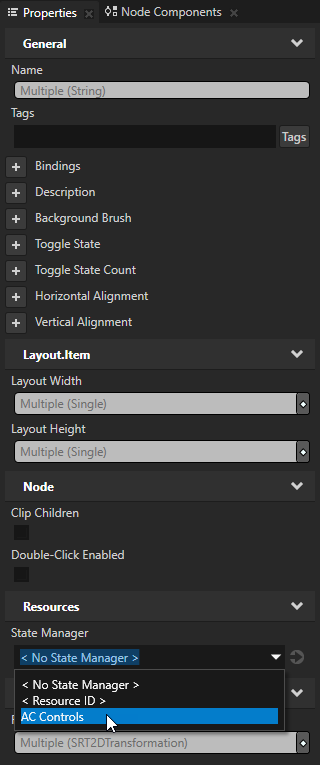
- In the Project select the Legs, Body, and Shield nodes, in the Properties add the State Manager property, and set it to AC Controls.
By setting the value of the State Manager property you set a state manager to control the selected node and its subtree. In this case you set the AC Controls state manager to control the indicator buttons that set the air conditioning state.
Define states for the level buttons
In this section you create a property type, which you use in the triggers for the level buttons to set the state of the level indicators. You create another state group in the AC Controls state manager. This state group controls the indicators which show the current level of the air conditioning.
To define states for the level buttons:
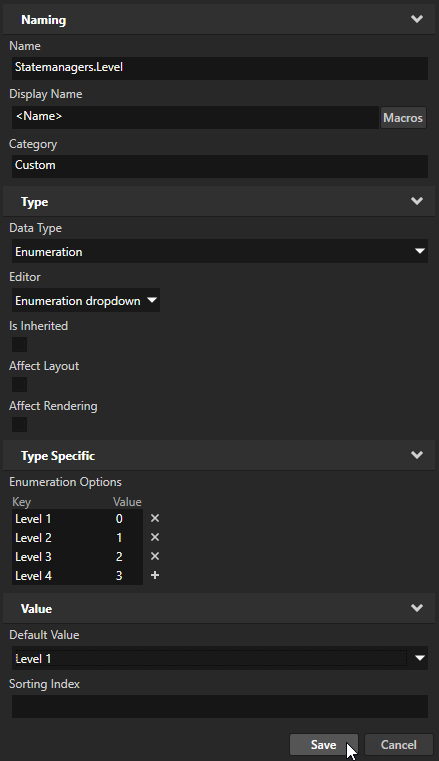
- In the Library > Property Types press Alt and right-click to create a property type, and in the Property Type Editor set:
- Name to Statemanagers.Level
- Data Type to Enumeration
Enumeration stores a set of key value pairs, so that each unique key resolves to a unique integer. - Editor to Enumeration dropdown
- Enumeration Options
- Key to Level 1 and Value to 0
- Key to Level 2 and Value to 1
- Key to Level 3 and Value to 2
- Key to Level 4 and Value to 3
- Default Value to Level 1
Click Save.
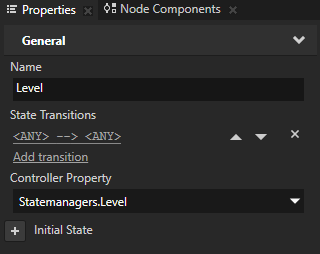
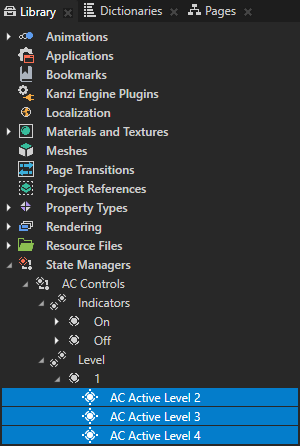
- In the Library > State Managers press Alt and right-click the AC Controls state manager, select State Group, and name it Level.
You use the Level state group to control which level indicators are visible when the user clicks the level buttons.

- In the Library > State Managers > AC Controls select the Level state group, and in the Properties set the Controller Property to Statemanagers.Level.
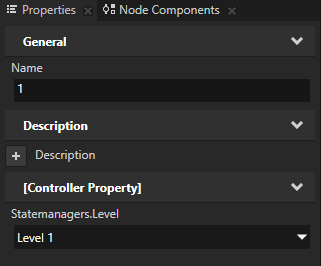
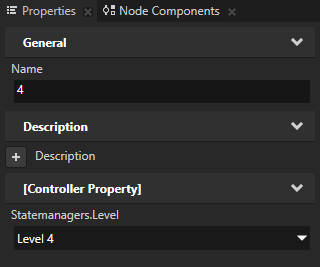
- In the Level state group create a state, name it 1, and set which indicators are visible when the application is in that state:
- Select the Level > 1 state and in the Properties set the Controller Property to Level 1.
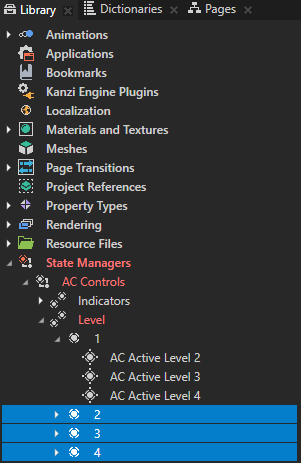
- In the Level > 1 state create one State Object for each of the three images that you use to indicate the level of the air conditioning:
- AC Active Level 2
- AC Active Level 3
- AC Active Level 4
Level 1 does not need a State Object in the state manager because you use an image to display the first indicator bar as green when the user switches on the air conditioning.
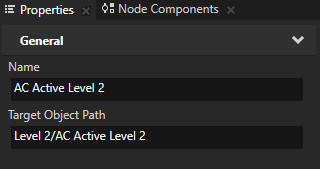
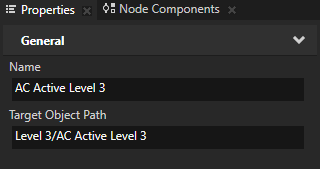
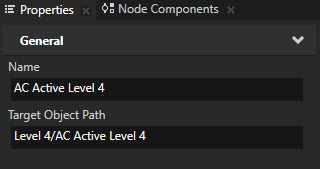
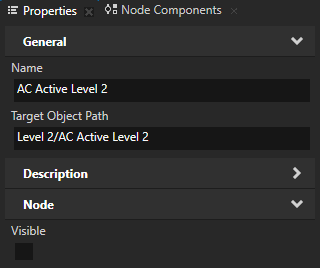
- For each State Object in the Properties set the Target Object Path to point to the correct image in the Project > AirCondition level > Level buttons:
- For AC Active Level 2 set the Target Object Path to the Level 2/AC Active Level 2 node
- For AC Active Level 3 set the Target Object Path to the Level 3/AC Active Level 3 node
- For AC Active Level 4 set the Target Object Path to the Level 4/AC Active Level 4 node
- For each State Object add the Visible property, and make sure it is disabled.
When the application is in the 1 state, the level indicators are not visible.
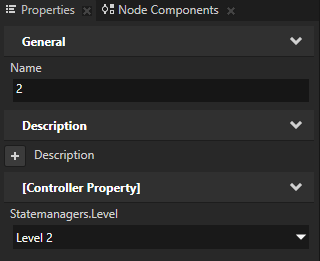
- In the Level state group select the 1 state, press Ctrl D three times to duplicate the state, and name the three states 2, 3, and 4.
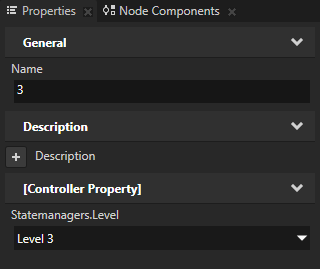
- Select each new state you created in the previous step, and in the Properties set the Controller Property:
- For the 2 state to Level 2
- For the 3 state to Level 3
- For the 4 state to Level 4
- Set which level buttons are visible in each state:
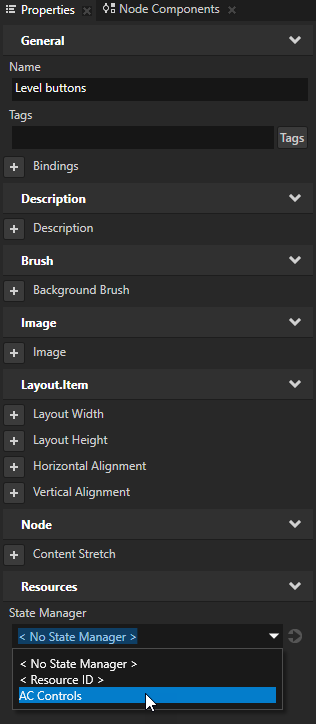
- In the Project select AirCondition level > Level buttons, in the Properties add the State Manager, and set it to AC Controls.
You set a state manager to control the selected node and its subtree. In this case you set the AC Controls state manager to control the indicator buttons that set the level of the air conditioning.
- Create triggers for the level buttons to switch the indicators on and off:
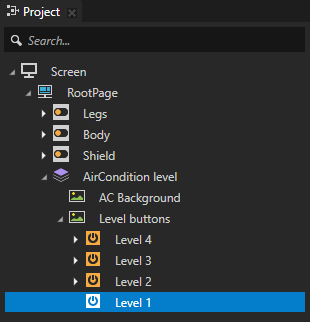
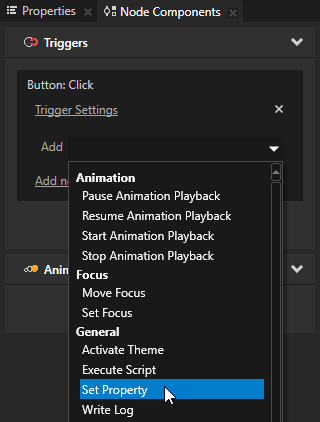
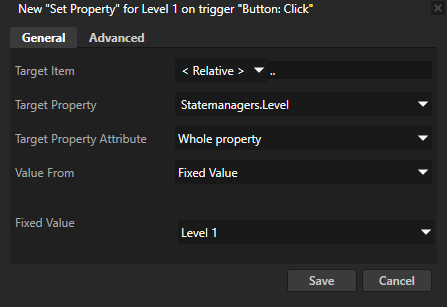
- In the Project select the Level 1 button node, in the Node Components in the Button: Click trigger click the dropdown menu, select the Set Property action, and set:
- Target Item to <Relative> ..
- Target Property to Statemanagers.Level
- Target Property Attribute to Whole property
- Value From to Fixed Value
- Fixed Value to Level 1
You use the Set Property action to set the application state when the value of the Statemanagers.Level property changes.
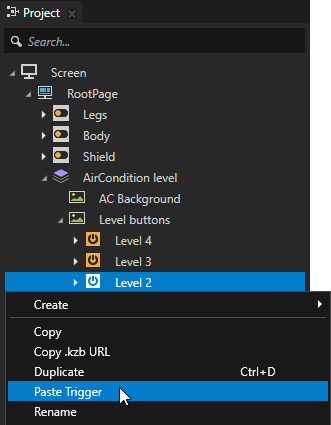
- In the Node Components right-click the Button: Click trigger and select Copy.

- In the Project paste the trigger to the Level 2, Level 3, and Level 4 nodes but in the Set Property action set the Fixed Value to Level 2, Level 3, and Level 4.
< INTRODUCTION
NEXT STEP >
See also
State manager
Using state managers
Using state transitions
Creating property types

Open topic with navigation